How to Shoot and Edit an Event Recap Video (Even If You're Not an Editor)
Most people overthink event recap videos. Stop worrying about dialogue and start capturing the experience. Here's the simple B-roll-first approach that works.
How to Shoot and Edit an Event Recap Video (Even If You’re Not an Editor)
You’ve just wrapped an event. The energy was great, the turnout was solid, and someone — probably you — now has to put together a recap video. If you’re a marketer, a community manager, or literally anyone whose main job is not editing video, the idea of sitting down in Premiere Pro probably sounds exhausting.
Here’s the thing: you’re probably making it harder than it needs to be.
Most people default to thinking an event video means interviews, talking heads, and carefully scripted testimonials. But the recap videos that actually perform well online — the ones people watch more than 10 seconds of — almost never lead with someone talking to a camera. They lead with the feeling of being there.
This is a B-roll-first approach, and it changes everything.
Why Dialogue-Heavy Event Videos Don’t Work
Think about the last event recap video you watched on LinkedIn or Instagram. If it opened with a shaky clip of someone at a podium saying “Welcome, everyone…” did you keep watching?
Probably not.
The problem isn’t the event — it’s that dialogue-heavy video requires your viewer to immediately invest attention. They have to follow what’s being said, process it, and decide if it’s worth their time. Before they’ve even felt the energy of the room.
B-roll does the opposite. It drops viewers into the experience. It shows them what it felt like to be there — the buzz, the details, the moments — before asking them to pay attention to anything specific.
For marketers producing event content, this is genuinely good news. Because B-roll is easy to shoot, doesn’t require a crew, and edits together fast.
The Shot List: What to Actually Capture
Before you even think about editing, you need footage. Here’s the shot list that makes event recaps work — broken down by category:
Venue & Atmosphere
- Wide establishing shots of the space before guests arrive
- Signage, banners, and branded elements
- Lighting, decor, table setups — the details people miss when they’re in the room
- The venue from outside
People & Energy
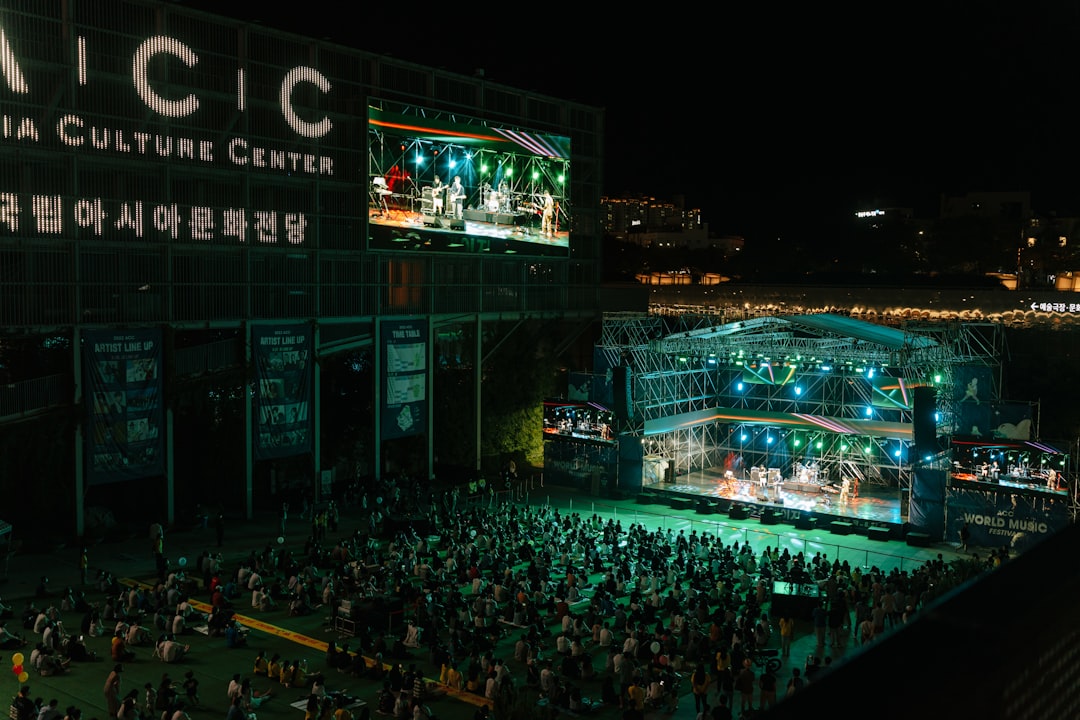
- Crowd shots — wide angles showing the room filling up
- Candid interactions — people laughing, shaking hands, leaning in to talk
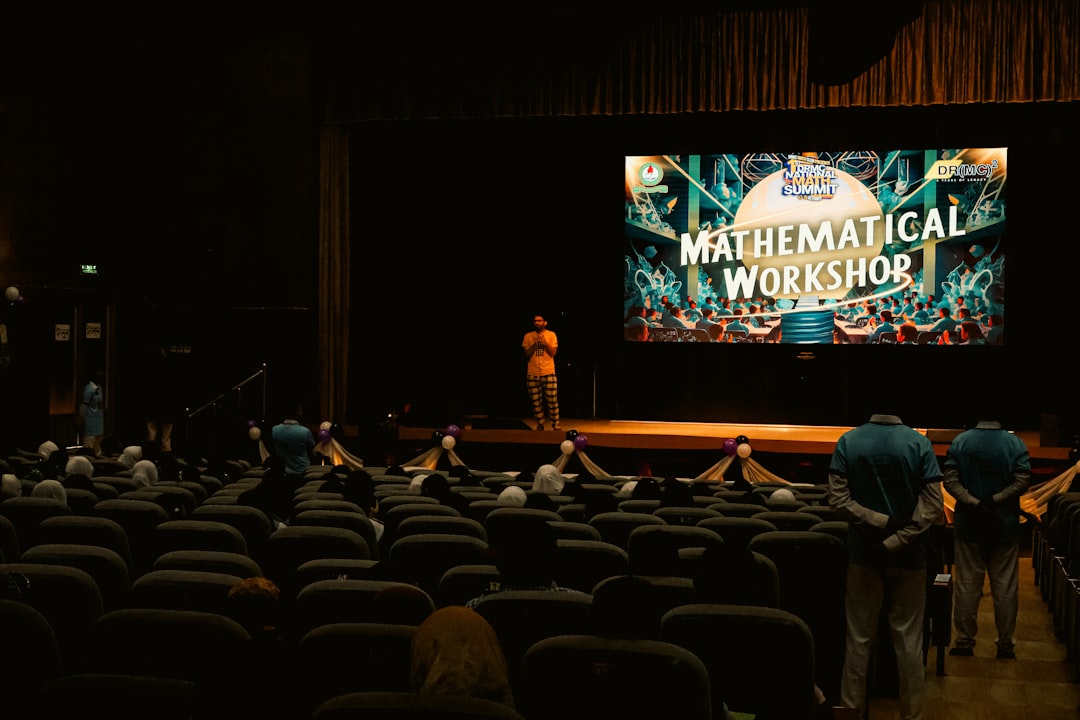
- Keynote or panel speakers from a distance (wide and medium shots)
- Audience reactions: nodding, applause, people taking notes
Close-Up Details
- Food and drinks (if catered — these always perform well)
- Name badges, swag bags, printed materials
- Check-in moments
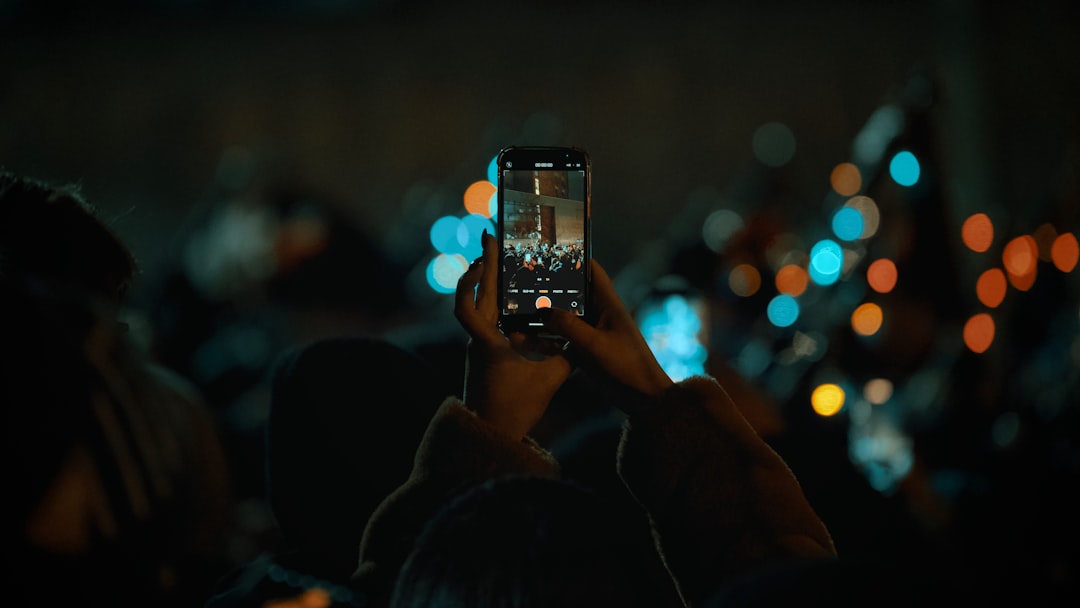
- Phones out, people taking photos — meta but it works
- Sponsor logos, product displays, anything tactile and visual
Transition Moments
- People walking in
- Hallway conversations
- The shift from setup to doors opening
You don’t need all of these. But if you have 20–30 varied clips across these categories, you have more than enough for a strong 60–90 second recap.
The Golden Rule: Shoot More Than You Think You Need
Most first-time event videographers undershoot. They get the keynote, a few crowd shots, maybe a food table, and call it a day. Then they get to the edit and realize they have nothing to cut between.
Aim for at least 3–5 clips per category above. Hold each shot for at least 5–8 seconds even if you’re only going to use 2–3 in the edit. Give yourself options.
And critically: don’t stop shooting during transitions. The moments between sessions — people spilling into hallways, grabbing coffee, finding their seats — are often the most human, watchable footage you’ll get all day.
Editing the Recap: Keep It Simple
You don’t need to be an editor to put this together. Here’s the straightforward approach:
1. Pick Your Music First
Find a track that matches the energy of the event — upbeat but not chaotic, professional but not boring. Your edit will almost always be music-driven, so lock this in before you touch a clip.
2. Build a Rough Timeline
Start with your best wide venue shot as the opener. Drop in your clips in a rough order that flows from arrival → energy → details → people → moments. Don’t overthink it yet.
3. Trim to the Beat
Once clips are roughly in place, trim them to hit on beats or transitions in the music. Even loose sync to the rhythm makes a video feel intentional and professional.
4. Add Text Sparingly
If you need to add context (date, location, event name), keep text overlays minimal and clean. One or two title cards max.
5. End on a Strong Frame
Close on something with energy — a crowd shot, a toast, a candid laugh. Don’t let the video fade out on an empty room.
What About Interviews?
Interviews and testimonials absolutely have a place in event content — but they work best as a second piece of content, not mixed into the recap.
A 60–90 second recap is for social: LinkedIn, Instagram, email newsletters. It’s for people who weren’t there to feel the FOMO, and for attendees to share with their networks.
A longer “highlights + interviews” cut (3–5 minutes) can live on YouTube or your website for people who want depth. Keep them separate, and you get two pieces of content from the same shoot.
The Shortcut for the Actual Editing
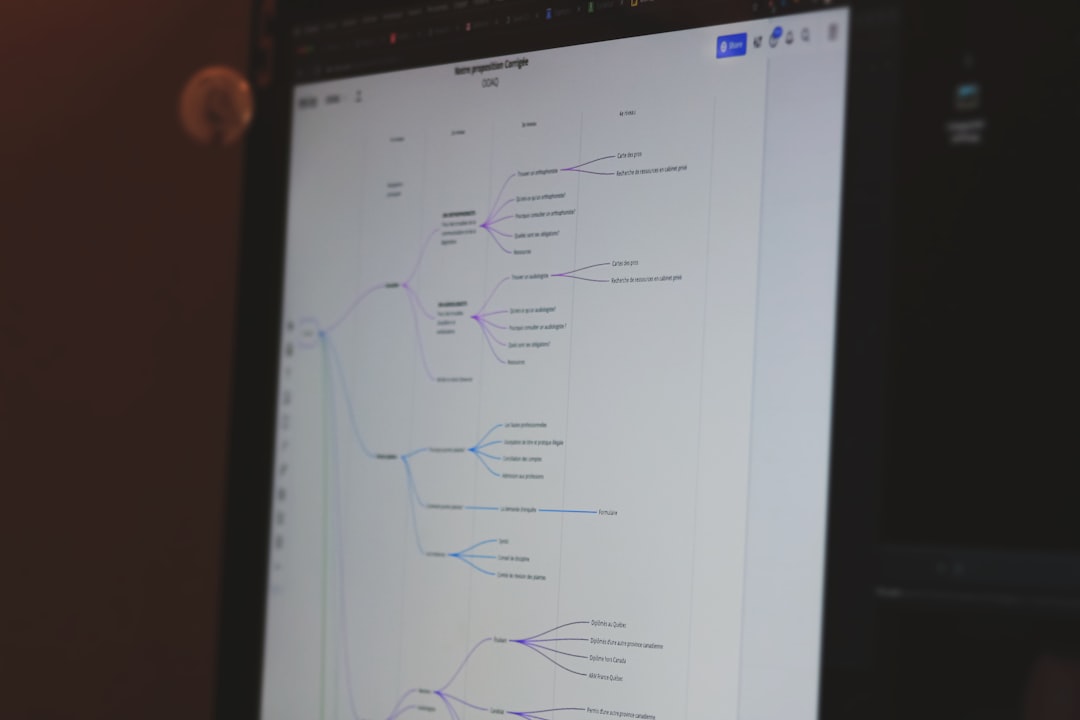
The hardest part of event recap editing isn’t the creative decisions — it’s the time it takes to go from 40 clips down to 15. Scrubbing footage, pulling selects, building a rough timeline. That’s where most non-editors get stuck and the project stalls for two weeks.
Tools like Clik are built for exactly this. Upload your raw footage and the AI builds you an initial timeline from your best visual moments — no dialogue analysis required, no manual scrubbing. You go from raw clips to a workable draft, then you make the creative calls on what stays and what doesn’t.
For marketers who need to move fast and don’t have an editor on staff, it’s the difference between a recap video that ships the week of the event versus one that never ships at all.
Recap: The B-Roll-First Checklist
Before your next event, save this:
- Capture wide venue shots before guests arrive
- Get crowd/energy shots throughout (not just at the start)
- Shoot close-ups: food, signage, badges, details
- Film candid interactions — not just posed moments
- Capture transition moments between sessions
- Shoot every clip for at least 5–8 seconds
- Choose music before you start editing
- Keep the final cut to 60–90 seconds for social
The best event recap videos don’t tell people what happened — they make people feel like they missed something worth attending next time. That’s a visual job, not a dialogue job. Embrace the B-roll, and you’ll be surprised how quickly something great comes together.